BLOG BUDDIES

September 11, 2013

Artist Don't Lie... We Embellish

Hi Everyone... it has been awhile since my last post, but don't think for a moment that I haven't been getting messy in the studio. In fact, things had gotten so out of control it was time to do a little re-organizing of my creative chaos.  For those that know me well, you know how much  I ♥ Tim Holtz. I have been wanting to buy something to keep all my Tim Ideology trinkets in but nothing has really caught my eye, or if it did it was a small fortune. And then I remember I had these advent boxes for sell in my Etsy shop and decided this was the perfect house for all my pieces.

First I gave the entire piece including all the little boxes a nice coat of black acrylic paint.
 Then I took metal tap and ran it though my Vagabond using my "Gears" embossing folder. Applied it to the outer sides of the advent box. Black acrylic pain was applied and then wiped off to give it an aged to perfection look.
 
I had these little furniture buttons and thought these would look perfect for knobs... this is an optional step... you don't really need knobs as each drawer does have a cutout for easy pulling of the drawers. I painted the knobs black and applied a tiny speck of silver Rub & Buff. They turned out looking like aged door knobs.
Using my Maya Road thread spools which I also sell in my Etsy store, I painted them black and cut strips of the metal embossed tape to place around the spools.
 Originally I was going to use these as little feet on the bottom of the box but later decided not to use them for that. I ended up gluing them to the top of the box instead for added decoration.
Next using Tim Holtz paper collection "Lost and Found" I cut out the letters and using Glossy Accents glued the letters to assorted sizes of Ideology Fragments and then glued to the top of the box.
 
 
So go get creative and have fun for all your embellishments !!!

July 6, 2013

THIS IS IT / SMASH BOOK


 For those of you that don't know what a smash book is... it is simply as quick and easy way to collect pictures, tickets, memerobilia, receipts and journal whatever is going on in your life at the moment. You can purchase Smash books already made, and you can add your goodies to them, but I thought it would be fun to smash an entire year of my life and June being my birthday month I needed to get started on this book ASAP. I found this chipboard set at Michaels that I knew would work perfectly. Each page could be a month of my year.
I put on my favorite creating music... MJ's....This Is It... dvd and turned up the volume and away I went. First priming the chipboard with gesso and then I added metal embellishments, fiber tape, grunge board, flowers, lace, doilies, etc. 
As you can see... I titled my book "This Is It"... I thought it was fitting for a year of my life
Then I primed the entire surface and all embellishments with gesso. 

Pulled out my Lindys Stamp Gang sprays (these will be sold in my Etsy store soon) and I chose Mojito Green, Cotton Candy Pink and MoonShadow Treasure Island.


Remember when using your sprays to heat set each color before using the next or the colors will run together and you won't get the true color you are wanting.
I love how the cover turned out and I am excited to start smashing my June items on the first page. 
I hope this inspired you to get out there and have a smashing good time creating. In case you need some creative inspiration... sit back and watch MJ 
Photobucket

xoxo Toni

June 21, 2013

Altered Time

I have been on a look out for a clock for my art studio and came upon this gem for only $5.00. It was perfect for my style... old, grungy, steampunk inspired with sprockets.... so it was a must buy.
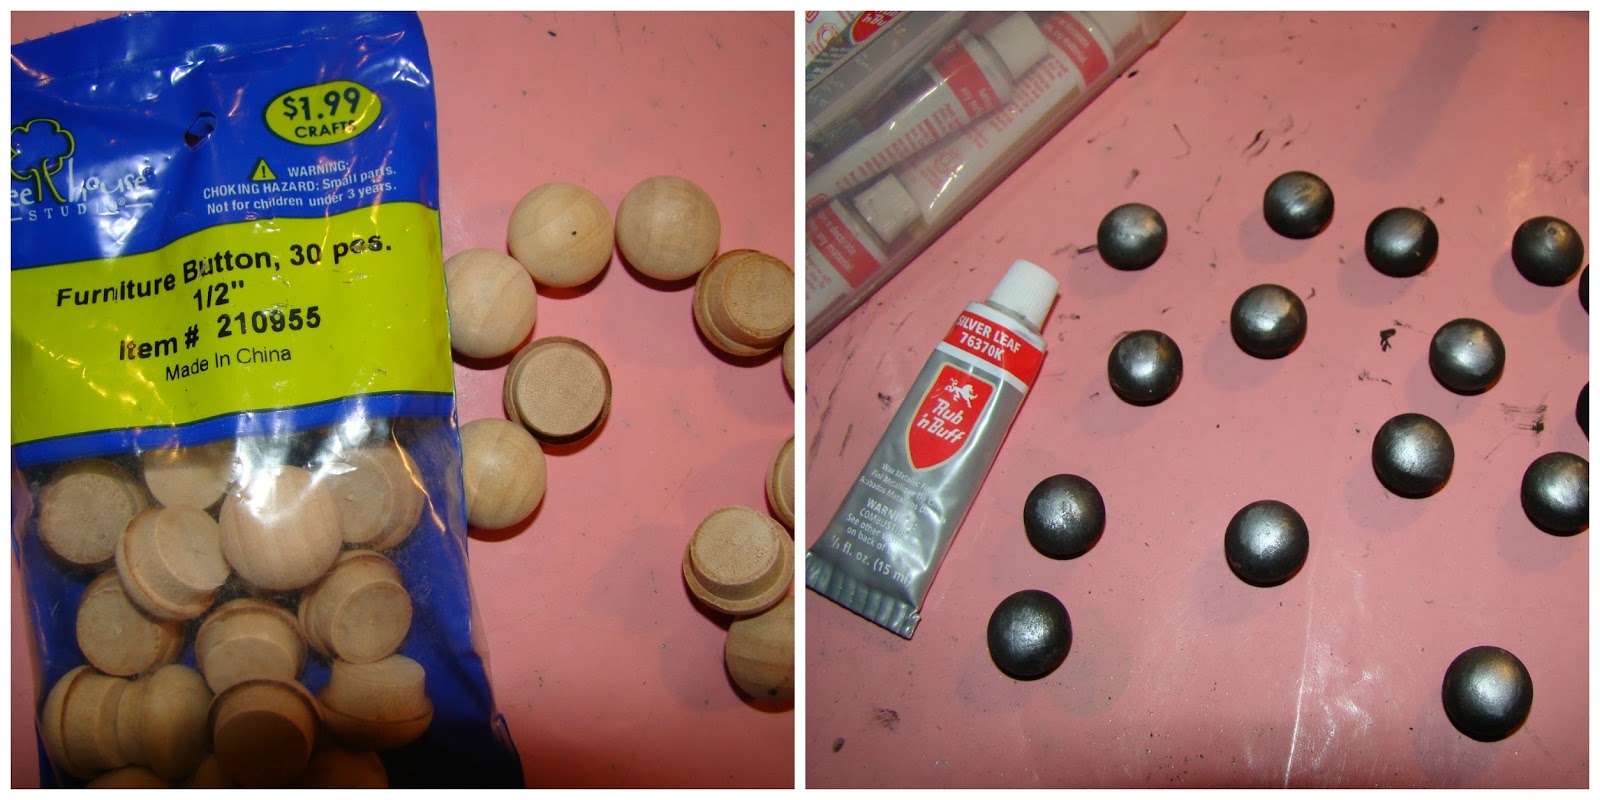
Decided it needed some altering. The main products I used for altering were... UTEE gold, bronze & black. I also used black gesso as well as metal tape. 
I first wanted to make wings which I covered chipboard with the metal tape, burnished it real good  and ran it through my Vagabond to die cut different shape wings, then ran it through once again my embossing folder "Sprokets". Wiped a thin layer of Rub & Buff Ebony over the highlighted spots on the wings to give it depth. 
Next was diecutting an assortment of sprokets and gears. I painted chipboard with black gesso and ran it through the diecutting machine. 
Then the fun part... I just love embossing. I used UTEE gold, bronze & black. Used Versamark and swiped random spots on the gears and applied the UTEE. Of course it setup bright and shiny but I wanted more of an aged look, therefore I took a wire brush ( you can use sand paper, or Tonic  Scratch Tool etc. ) and went to town on the gears in certain spots so not to look uniform. 
You can see by the pictures above the difference between the two textures... This technique is actually one of my favorites from Tim Holtz where he embosses metal pieces and then scratches away bits and pieces and it makes your object look distressed and worn. Of course I couln't scratch these gears because they were made from chipboard therefore the wire brush was perfect for the job. 
Then I decided the clock itself needed some embossing. I wiped random spots of Versamark and applied gold UTEE to the actual clock and heat set.
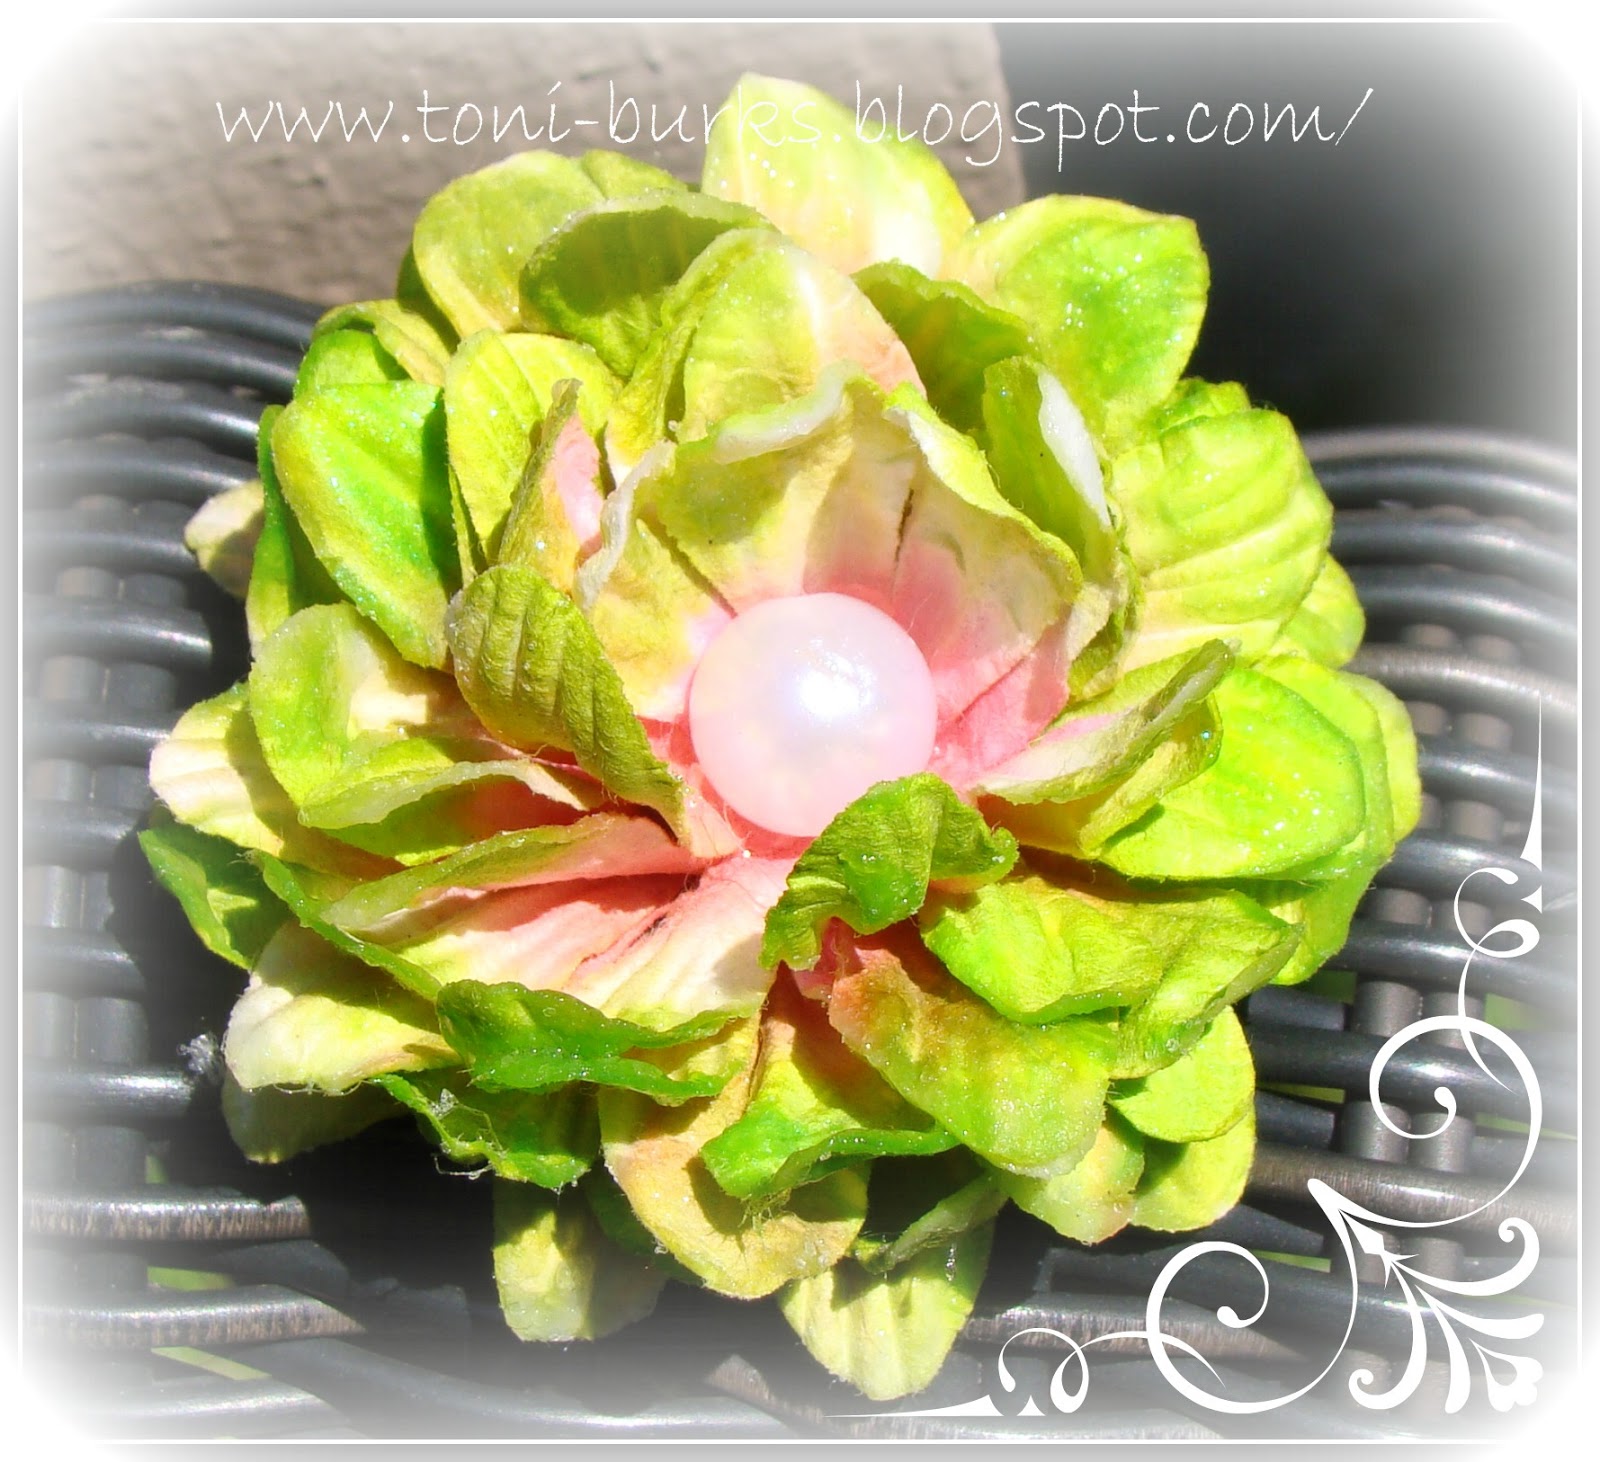
 Then it was time to embellish the clock... gears, chain, wings, and glass vials filled with copper mica, and gold glass glitter, and Ideology Pen Nibs were added. 


 Hope you enjoyed the post and I especially hope this inspired you to go alter something . 
xoxo Toni

June 1, 2013

Onesie Mini Album/ First 12 Months


I am surrounded by mothers-2-b  with little buns in the oven right now and I love it. For this project I was inspired by the cutest clothes hanger I found and Joann's Crafts for $1. Thought this would be an adorable prop for a mini album that I wanted to make for a co-worker. I drew up a simple pattern for a onesie and cut 7 chipboard pieces out for the individual pages. First page is the cover and the back then allows mommy to record all the delivery statistics. Each page thereafter flips over the clothes hanger and provides space to journal and include pictures of every month for the first year of Baby Cali's  life. Hope you enjoy the slide presentation of the mini album.

There were several products that I used that can be purchased in my Etsy Shop


May 11, 2013

MUMS the word

Hi Everyone... I've had some requests for a tutorial using my puffy daisies  that I sell in my Etsy shop which you can find HERE. This flower requires the use of 6 puffy daisies, hot glue, your preference of misting sprays. I used Lindys Stamp Gang " Pink Ladies Pink" and "Bells of Ireland Green". 


The Rock Candy Distressed Stickles adds that pretty look of dew kissed petals. This can also be purchased in my Etsy shop HERE
Until next time.... happy crafting.

xoxo Toni

February 13, 2013

WOYWW

Hi y'all... it's WOYWW (Whats On Your Workdesk Wednesday) ... mine might be boring to you but exciting to me. This last week I spent time moving to my very own apartment. Yep... my daughter has got her own place so it was time for mom to downsize, kind of... lol... 143 boxes later and trying to convince my movers that I AM NOT A HOARDER... this is my craft room in the making. I'm so excited to get everything in its place. The room is small but I will make it work. Next week hopefully the pictures of my WOYWW will be a project I'm working on. Stay tuned. xoxo Toni

December 24, 2012

A Creative Christmas

Well this has been a very busy season for me. Getting a new job, trying to plan moving to a new home and keeping up with all my new wonderful customers on my Etsy store. I'm so grateful for the passion of art and creativity. At times like this when life brings so much stress and worries, I am blessed that I can look over at my craft table and no that I can release some of that negative energy into my inks, paints and glue. Thank you Jesus for the love for creativity... thank you for the inspiration for creativity that is ALL around me... thank you for the finances to buy that little bottle of glitter... thank you for leading new customers to my studio store.  
To all my followers, friends, family and customers I wish you a Beautiful Christmas & a Wonderfully Happy New Year xoxo Toni

December 16, 2012

Secret Santa

Christmas greetings and today's project from Saturday in the Studio is a gift bag and tag for my Secret Santa gift at work. 


Today I am working with two products that can be purchased in my Etsy shop, the Manila Tag measures 6.25" x 3.25" and gives you plenty of creative room to use for decorating a collage, mini art, tag for gifting and so much more. You can stamp, ink, alter, paint, distress, embellish and the surface accepts wet and dry techniques. Also, I'm featuring 2011 Christmas Seasonal Series Distressed Inks, all available in my Etsy store and they come in 3 festive colors: Evergreen Bough, Festive Berries, & Iced Spruce.
 I used all three of my Distressed Inks to color up my snowflake stamp and stamped my bag as well as my Kraft color tissue paper. I then embossed some more snowflakes in black.(I wanted to keep it a bit masculine as it was for a male employee that works with me) 
I then decided to run my Distressed Ink over my craft sheet and spray water to create droplets and then ran my manila tag over the colors and heat set. Applied a Martha Stewart Snowflake punch to the tag for interest. Distressed the edges with Iced Spruce. Added the words "Christmas Greetings" from my Ideaology Seasonal ChitChat Stickers. Them I embossed David's name and some snowflakes randomly in black on the tag. Tied natural & black jute cord to the tag and bag. 


Stop by my store for many other products for your crafting needs. You can also purchase Etsy gift cards for that crafting friend so they can go shopping after Christmas. Enjoy putting your own personal touch to your packages this holiday season. xoxo Toni

December 11, 2012

Saturday In The Studio

Due to all the holiday busyness, I am a couple days late on posting "Saturday in the Studio". This weeks feature product is Maya Road Vintage Wood Spools. These are so cute and come 6 in a package. I decided to create a Christmas tree ornament with mine. Here are the quick and easy steps to making this ornament. You can purchase them here at my Etsy Shop

The following supplies were used: Maya Road Vintage Wooden Spools, sheet music paper, black jute, ribbon of your choice, gold & silver tinsel glitter, black & gold confetti tulle, gold ornaments for embellishment

I first used Vintage Photo Distressed Ink and stained the edges of the spools, then cut strips of the music paper and glued it around each spool. Next I glittered all around the edges of the spools with my tinsel glitter... (this year I think this is my most favorite glitter... so vintage looking) . 

Using the black jute I ran it up the holes of the bottom two outside spools, then ran it up the 2nd row of spools and then finished by running both ends of the jute through the top spool. Leave about 2 inches and tie a knot. 
 Then using my glue gun I glued 3 spools together for the foundation, then two for the next row and 1 for the top row.  To finish off I added some pretty gold and black confetti tulle that you can also get in my Etsy shop and adhered some mini Christmas bulbs. And there you have it another quick and easy ornament for your tree. Hope you enjoyed ... Merry Christmas

art (ärt) noun - supplement, alter, or counteract the work of nature. The conscious production or arrangement of sounds, colors, forms, movements, or other elements in a manner that affects the sense of beauty.