BLOG BUDDIES

Showing posts with label halloween. Show all posts

October 31, 2018

Enjoy The Ride Journal Page


Happy Halloween all, today I have a journal page for Art Anthology and it's inspired by this month's moodboard. 

 Mixed media can sometimes be intimidating to some and I hope this post encourages you "Don't be afraid of mixed media ... Enjoy the Ride".
I find my art journal is a perfect place to play and experiment with new techniques. Allows me to make notes on my page of what works and what I'm not too fond of. 
This page I wanted to try Seth Aptners Baked Enamel on wet texture paste and I really like the results. 
I also wanted to see if Art Anthology's Sorbet-Glass paint could possibly be used as an adhesive for foiling and gilding flakes and it also worked nicely. Left my chipboard and nice high gloss with randomly areas of foil... Very organic.... Get yourself an art journal... or just gather some mixed media paper, watercolor paper or even cardstock and start playing..... but most of all "Enjoy that Ride" !


October 23, 2018

Halloween Wreath/Guest Design Team Project for ReneaBouquets

 Hi everyone, today I have a Guest Design Team Project I created featuring ReneaBouquets items.
It's Halloween here in the USA and I have refurbished an old spring wreath that was headed for the trash. Spray painted it black here and there and then decorated it with some gorgeous ReneaBouquets  items from their store. 
ReneaBouquets's Beautiful Board takes paints, sprays and embossing beautifully. The flowers are exquisite and really need no altering. 
This BB Haunted House and Gothic Border where given some texture a bit and then the house was backed by alcohol inked acetate for the windows. 
The cobweb clock was embossed with black and gold UTEE for a shiny surface. The black doily lace was touched with a bit of Art Alchemy Wax for a subtle glimmer. 
These Ivy Leaves were also embossed with black UTEE and the roses just added that pop of color to the image and frame where needed. 

Hope you enjoyed this post and for your pleasure I have included a process video below. Be sure to drop by ReneaBouquets store to see her gorgeous items. 

This project entered into the following challenges:
Frilly and Funky / Haunted Halloween 

October 21, 2018

Apothecary of Creativity

Happy spooky month everyone, I have a DT project for Art Anthology and also a process video for you to enjoy. I decided to recycle some empty paint containers into a Halloween decoration to set on my table.
The outside of the container was textured with Rust and Patine Paste Set from Art Anthology ,  The paper used inside the container was from an old Recollections Halloween collection (I'm sorry I don't know the name of it.) Assorted Ideology Boneyard, Skulls, Typography & Word Bands were used.  
A fun technique you can try with adding texture from stencils on this rounded containers, you can view the process in my video below. Art Alchemy Waxes were added for a bit of shimmer. 
A bit of embossing was also done here and there with Seth Aptner's Patina Baked Enamel. Hope you enjoyed and try giving some of those empty bottles a facelift !

Entering this in the following wonderful challenges: 
Try It On Tuesday/Trick or Treat 

October 6, 2018

Vintage Jack - O - Lantern

Happy October all, I have a new DT project for Art Anthology and it is a fun decor piece to put out for Halloween.
I started with a paper mache cone and ball and covered it beginning with T!m's 2018 Halloween paper stash and then did some collaging with coffee stained tissue paper that was also stenciled with AA's Sorbet in Imperial. 
Mud Paste and Terracotta from Rust Set was applied to the head for some wonderful textures. The fringe was made dying some crepe paper. 
For your pleasure I have included a video below so you can sit back and enjoy my creative process. Wishing you a spook-tacular month and happy creating !

October 27, 2017

The Bone Collector-Coffin With Mini Album

Hi everyone.... I have some fun and eerie inspiration for my design team project for Art Anthology. It is  "Bone Collector" altered coffin holding a mini album to put all those fun Halloween pics in.
I started off with a paper mache coffin that I purchased at the dollar store. I traced the coffin onto chipboard and cut out for the pages of the mini album. 
The outside of the coffin was altered with wood pieces that were applied with texture paste and then painted with multiple colors to provide that aged look. Everything was propped up on a wood base and the wooden base was textured using sand, rocks and floral moss. 
The tree was made using grapevine wire from the craft store and painted then Ideaology spiders were hung from the tree.  All those pesky hot glue strands are perfect for this project because they provide a spider web effect. 
Ideaology bones, skelletons, apothecary vials word band and lantern are added to enhance project. 
The inside of the coffin was decoupaged with a Halloween napkin. This is one side of the mini album. 
This is the other side of the album. It will hold at least 30 photos. 
I hope you enjoyed this Halloween post... Hope this didn't scare you with all the steps and photos, it's quite easy and allows your creativity to go wild. For your pleasure I have a Snapguide tutorial below. Park your brooms at the door, sit down for a spell my pretties and enjoy. 
This project is entered into the following challenges
Frilly and Funky- Trick or Treat (Mini Album hidden in Coffin)
Emerald Creek  - Freaky and Fun
Rhedds Creative Spirit - October Challenge 
Altered Ecclectics- October Challenge 
Creative Artiste-Mixed Media 

October 11, 2017

Not So Itsy Bitsy Spider

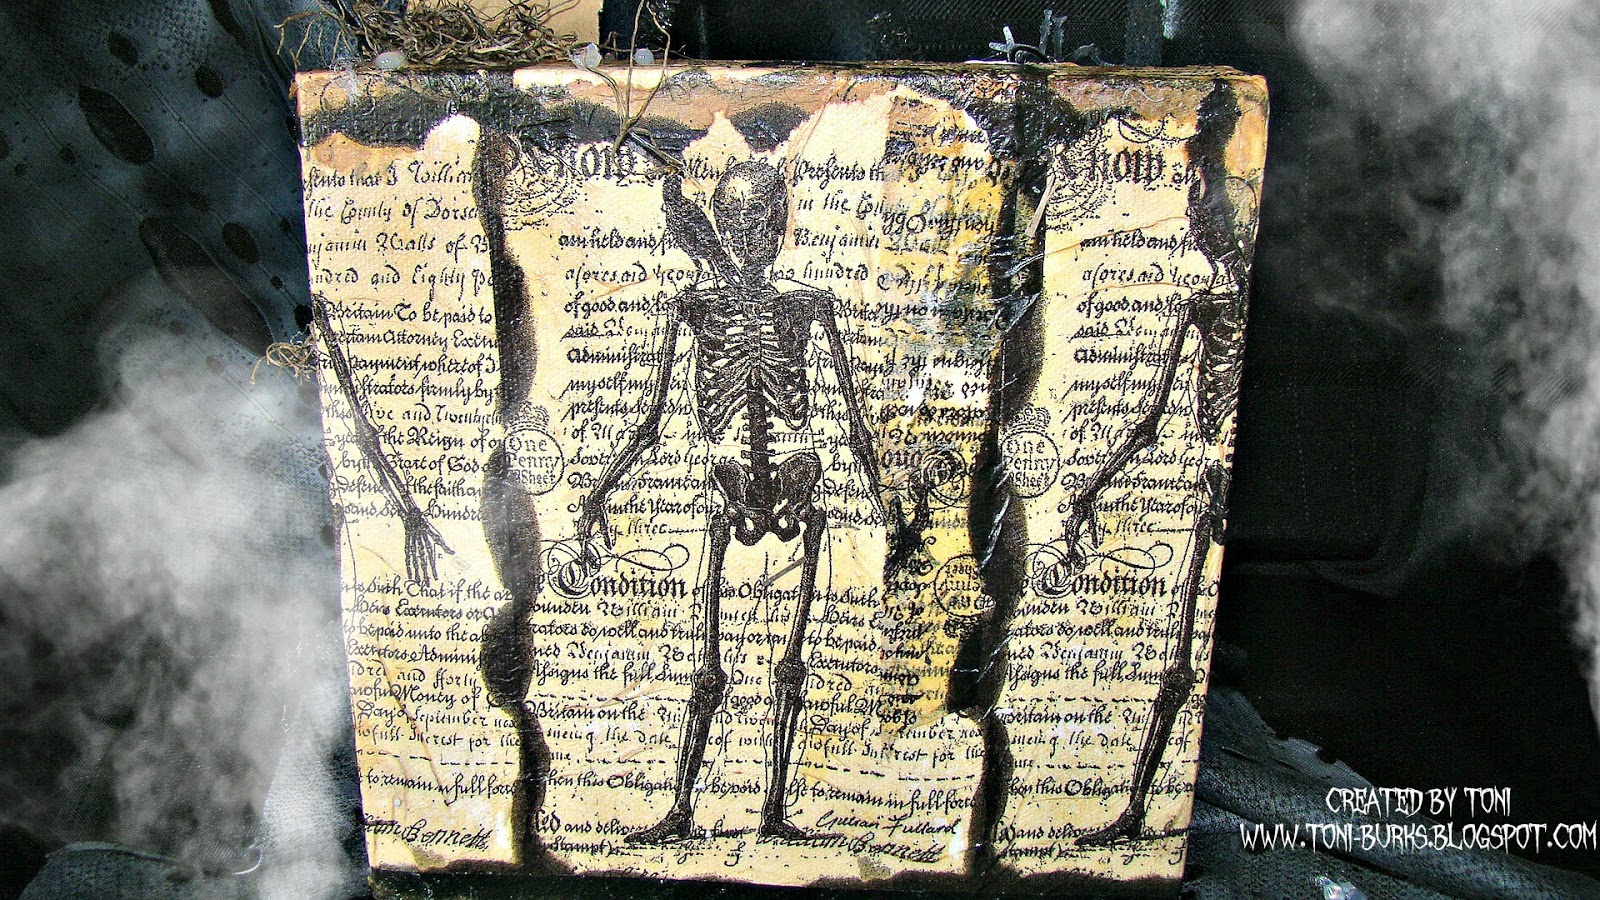
It's that time of year when we start the fun task of decorating for the holidays coming up, and Halloween is usually where it all begins. First up I have a design team project for Art Anthology featuring a spooky shadow box, mixed media background and dollar store finds to create this fun spider piece.
I used the back side of a canvas measuring 8" x 8". Created the background using texture paste and brick stencil. Then smudged black paints and sprays for contrast on the bricks. 

The back of the canvas I took some clearance Halloween napkins I purchased last year and collaged them, Distressed the edges with more black paint. 
The lightbulb is a Christmas ornament that you can fill, which I filled with plastic spiders and flies as well as some floral glass shards. If you can't find this ornament you can use an old lightbulb for the body. The legs are pipecleaners from the dollar store that are painted black and glued on to the back of the bulb. 
I cut the letters from Ideaology Paper Stash Haunted Halloween and glued onto these little wooden blocks also found at dollar store.  Then tucked away some fun floral moss underneath and around the spider. Moss also a dollar store find. 
For the last touch, I strung hot glue strands from one side to the other to provide a web effect. I hope you enjoyed this project. And wishing you a BOOOOtiful Hallween season.

This project will be entered into the following challenges:
Frilly And Funky - Tis Near Halloween
Try It On Tuesday - It's Halloween Time
Mixed Media World-#MMW30 Twist Made of Glass or Imitates Glass
Rhedds Creative Spirit - October Challenge
Altered Eclectics- October Challenge
Emerald Creek - Freaky and Fun
Creative Artiste Mixed Media-Anything Goes

For your pleasure check out my Snapguide Tutorial below. 

October 30, 2016

A Spook-tacular Altered Bottle


Hello to all my crafty friends. Its almost that day, you know when the ghosts and goblins come out to play. I have for you another project I created to decorate my home with. I purchased this bottle as well as long taper candles at $1.00 store earlier this year and knew I would be doing some altering. So here we go.


Melting the candle over the bottle actually takes me back to my high school days  (yep… in the 70’s) where that technique was really popular. Masking off a portion of the bottle to expose the inside and then dripping my candle over the bottle, I also mixed Art Anthology Mud with some crafting sand for yummy texture and applied randomly to sections of the bottle. Once dry,  I covered it with black gesso. 

The bottle is filled with tiny little bones, and skulls from a necklace (hence …. leftovers). Then it was time to get out my Art Anthology paints . Using Metal Effects in Silver, Velvet Paints  in Limeaid, Mardi Gras & Terracotta I added several coats dry brushing the tops of the wax on the bottle. 
To finish off the bottle, I had these wood tags, stamped “Leftover” in black Stazon and distressed the edges with Distressed Ink in Black Soot. Attached with black hemp cord and some metal keys.

For a complete list of Art Anthology products used, please visit Art Anthology blog  HERE. 
For your viewing I have also included a snapguide tutorial below for a step x step process. Wishing you a Spook-tacular Halloween !!!
I will be entering this piece in the following challenges: 
Frilly and Funky - A Very Vintage Halloween
Mixed Media World - MMW#19 Assemblage/Altered Art
Love To Create - Anything Creative Mixed Media Goes

October 23, 2016

Creating A Creepy Canvas

Happy October everyone, this is the month when the weather turns a bit cooler, it gets darker earlier in the evening and it's time for spooky and eerie projects to be created. Today I'm up on Art Anthology's blog with my design team project and I created a mixed media canvas filled with scary delights.
I started with a 8 x 10 canvas and used the back to utilize the niche  for adding my fun Halloween bottles and embellishments. The frame and outside of the canvas was textured using cheesecloth and dimensional paint from Art Anthology. 
Rock Candy crackle paint was applied to the outside of the bottles and allowed to dry naturally for the beautiful crackes to fill the bottles and jars. For the inside backdrop of the canvas I used Tim Holtz Paper Stash Halloween and splattered some AA Minx Ink for a bloody effect. 
For the sugar in the spoon, Distress Rock Candy glitter was added, and to achieve the spider web look, I allowed hot glue strands to catch on the sides of he canvas. The tubing used is simply some plumbers tubing I got at the $1.00 store. Go grab yourself some old bottles and fix yourself a scary laboratory for part of your Halloween decor. 
I will be entering this piece in the following wonderful challenges: 
Mixed Media World - Things To Alter
Love to Create - Anything Creative - Mixed Media
Frilly and Funky - A Very Vintage Halloween
A Vintage Journey - Make It Spooky
Rhedd's Creative Spirit - October Challenge

For your viewing I have included a snapguide tutorial for more photos and step x step process. 

October 7, 2015

Spooky Fun !

This month at Unruly Paper Arts our theme is "Open Theme". Halloween is right around the corner and I love decorating so I thought I would make something for my front porch. I used this graphic on another project awhile back and thought it would be perfect addition to my decor. I used an 8.5" x 11" canvas for this project, so here we go !
My canvas was first given a blotchy coat of white gesso... I wanted it to be chunky and worn looking. Next I used a splatter stamp for background texture effect with Brushed Corduroy & Tea Dye Distressed Inks.  Using Ideology Ransom Alphabet mask I then applied different shades of Lindy's Stamp Gang mists over the stencil. Using Black Soot I stamped a few spider webs here and there. Next up is my house and blue prints. My house image was generously provided by Graphics Fairy


...blueprints and all ! I distressed the blue prints and house with Walnut Stain DI then applied the graphics with Glue and Seal and allowed to dry completely.
For my sign I simply ripped a piece of chipboard,  and glued my "Don't Let The Price Scare You" sentiment on top. Distressed the entire top with Black Soot and Walnut Stain and crumpled the edges then attached to canvas. 
For my key and safety pin I took 1 pt vinegar and 2 pts bleach allowed the key to be fully submerged. I left over nite... outside because it had a pretty potent smell and in the morning I had a perfectly rusted key and safety pin to attach it. 
Ok for the fun part... I love working with beeswax and I haven't in quite awhile. I allowed it to melt a bit longer than normal because I wanted it to discolor a bit. I then just brushed over the entire canvas, using my heat gun to move the wax around and allow chunky areas. Then I brushed over the top of the canvas which provided the nice long drips. Once it dried it turned a beautiful warm caramel color which I love. 

This will now be nailed to a wooden stake and stuck in a pot on my front porch for a Halloween decoration...Hope this has inspired you and have a  BOO-tiful Halloween !

October 1, 2015

Carving Out Some Halloween Inspiration !

Happy October everyone and I am loving this cooler weather. New month so time to create something new with us at Rhedd's Creative Spirit.... altered or mixed media pieces and link up to our blog so we can be inspired by your creativity.

It's time to start decorating for the upcoming holidays... but first up is Halloween. A friend of mine is having a "Monster Bash" this year and has volunteered me... lol... to do some decorating for her. She knows how much I love to hostess parties and presentation is everything ! 

I decided to get my hands on a few of these great pumpkins at Michael's

You can get different sizes and colors, white, orange, black even chalkboard black. They are made from a foam material and so they are really easy to cut up and alter. First up I cut the top off, like you would a regular pumpkin and I painted the inside with black acrylic paint because it was white inside. 

For the skull, I picked up a paper mache one also at Michaels and painted it white and added Art Basics Texture Paste White Sand all over it to give it texture. Once everything was dry I then gave it a coat of black acrylic paint and then wiped off the excess with baby wipes just so the black would seep into the crevices of the skull. The hands I purchased at the Dollar Store and they were beige so I gave them the same painting treatment that I did with the skull. I then just added red gems for the eyes using my glue gun. To give the illusion that the skull is popping out of the side of the pumpkin, I cut a whole the same size as the skull and using my glue gun once again I adhered then filled in the edges with spanish moss. 
I then added a piece of styrofoam glued it to the inside bottom of the pumpkin and added spanish moss on top. Using fabric fall leaves, I sprayed Dylusions Black Marble and Postbox Red here and there on the leaves to cause a more dramatic look. 
The hands are fun because they look like they are holding the top of the pumpkin. This was super easy and fun, probably took me 4 hours... mostly waiting for stuff to dry and I have lots more ideas for the other pumpkins. Hope this has inspired you for some Boo-tiful Halloween decorations. Have fun and come play along with us at Rhedd's Creative Spirit. 

Your Driving Me Batty

Happy October everyone and it's time for a new challenge at Creative Embellishments. Are you ready for our photo....it's AWESOME !  Use this as your inspiration with a bit of a twist... incorporate metal somewhere in your piece.
So now for my design team creation I was inspired by the steampunk appeal, the top hat, the bats and the colors. 
I decided to use the backside of the canvas and make my shadowbox. First up I decided I didn't want to use modeling paste this time for texture but instead I reached for my Sizzix embossing folders "Halloween".
 I made 4 of these and glued them together. Then I applied Dylusions sprays for the pretty colors and once dry I applied Black Soot DI to the tops and edges for distressed look. 
My bat was created using a paper mache egg and I crackled the paint for the body.  The eyes are Creative Embellishment cogs painted black and gems that were colored with alcohol ink in Plum. 
The legs and feet were made from metal wire and then dipped in black acrylic paint. 
The Creative Embellishment steampunk wings were covered with metal tape then run through the chicken wire embossing folder. Then I used 3D black paint for the rivets.
The tophat had feathers and stickpin added. The Creative Embellishment cogs were painted black and then highlighted with silver Inka Gold. 
The candlestick is something I picked up at Hobby Lobby, painted black and sprayed with Lindy's Stamp Gang Screamin Banchee Black... it has a shimmer of purples and blues, then added some Magical Mica in Rusty Lantern Lime for shimmer. For my title I used Creative Embellishments "The Freaks Come Out at Night". I painted it white first then gave it a nice coat of lime green Stickles. Spanish Moss was added here and there, and all those glue strings that collect over your project... no problem for this because it really adds to the Halloween look. 

I hope this gave you inspiration for creating something for your table top. Have fun and don't forget to drop by Creative Embellishments blog to see some amazing design team creations and link up your project for a chance to win some FREE goodies from Creative Embellishments. xoxo Toni

I will be entering this in the following challenges: 
Eclectic Ellapu - Purple Team Halloween
SanDee & Amelie's Steampunk - Top Hats & Moustaches 


The following Creative Embellishment products were used: 

art (ärt) noun - supplement, alter, or counteract the work of nature. The conscious production or arrangement of sounds, colors, forms, movements, or other elements in a manner that affects the sense of beauty.